How to Install Web-Cart on GoDaddy
Web-Cart is available in two different packages – Web-Cart Multi Vendor & Web-Cart Multi Store.
Following are the core requirements for web-cart:
PHP >= 7.0.0
OpenSSL PHP Extension
PDO PHP Extension
Mbstring PHP Extension
Tokenizer PHP Extension
XML PHP Extension
If you want to install web-cart on GoDaddy hosting or any other similar hosting, following steps should be followed:
1. After downloading the web-cart package and extracting it, you will see the following folders:
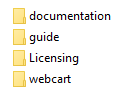
2. Go inside of “webcart” folder, you will a zip file “webcart.zip”.
![]()
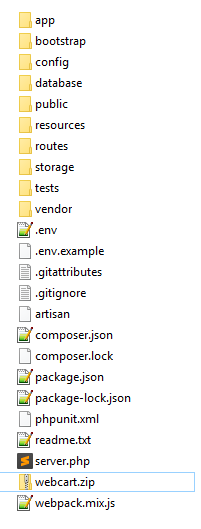
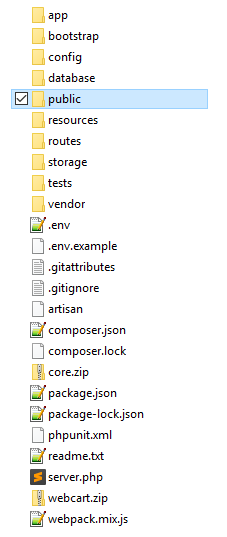
3. Extract “webcart.zip”. After extracting it, you will see the following files:
4. Select all except “public” folder and “webcart.zip” file and compress it by creating a zip file, name it “core.zip”.
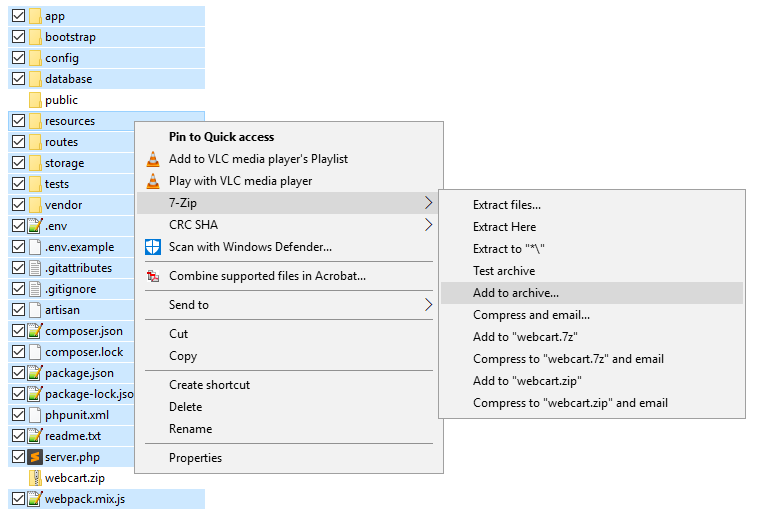
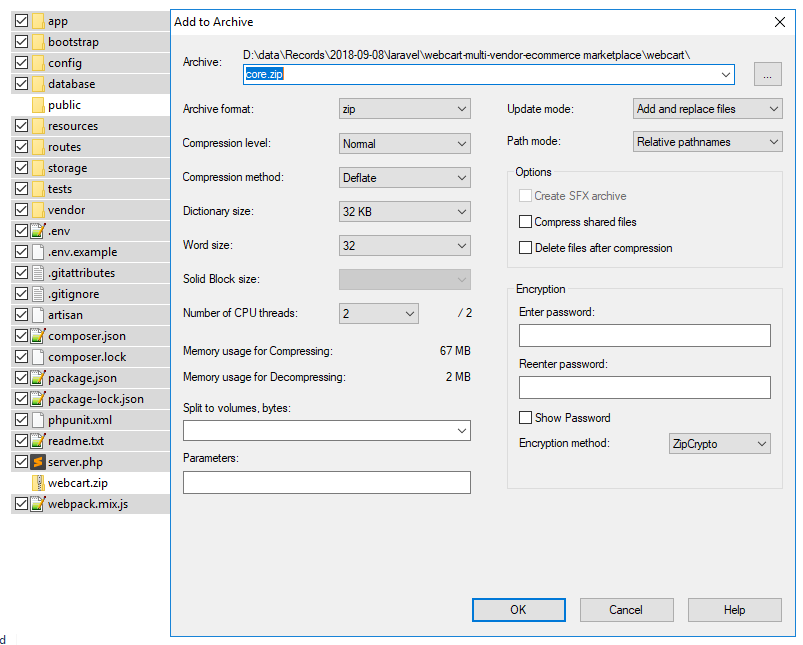
Click “OK” to create “core.zip” file.
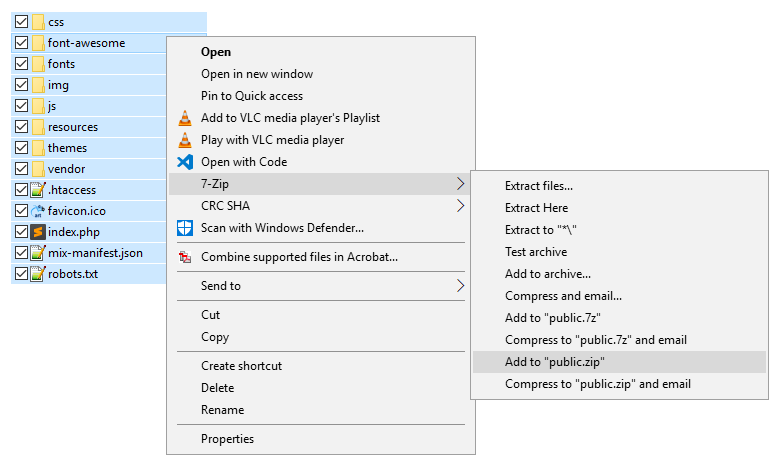
5. Now, go inside of “public” folder.

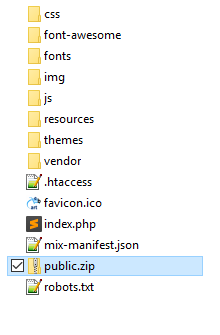
6. Select all files and folder and create a zip file “public.zip”
Now, we have two files: “core.zip” and “public.zip” that we will need to upload on GoDaddy hosting. We will also create a database and edit the configuration files.
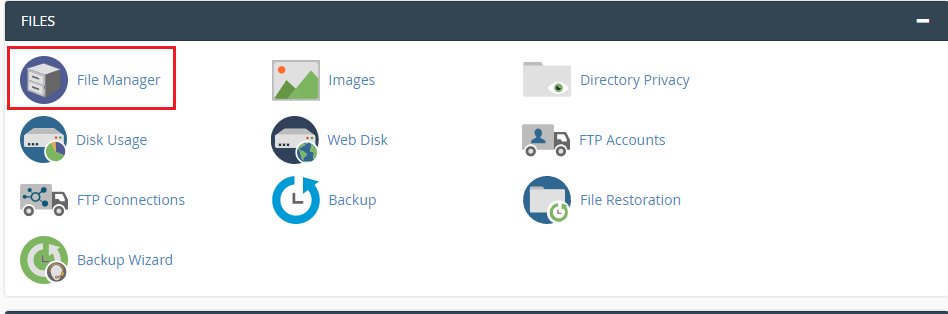
7. Login to your GoDaddy account, navigate to your “cPanel Admin” > “File Manager”.

On left side of your screen, you will see your server directories and files. Find “public_html” and click on it.
![]()
Now, you will see other folders inside of this “public_html” which can be mapped to your domains”.
Here, you have two options depending on how your domain is mapped to these folders.
(1). If your domain is directly mapped to “public_html” folder, then you will need to upload “public.zip” file (which you created in Step 6) into “public_html” folder.
Means, you upload “public.zip” so it looks like “public_html/public.zip”.
(2). If your domain is mapped to any other folder inside of “public_html/web-cart/” (Let’s say: “web-cart”), then you will need to upload “public.zip file” into this other folder “public_html/web-cart”.
Means, you upload “public.zip” so it looks like “public_html/web-cart/public.zip”.
In next steps, we assume you upload “public.zip” inside of “public_html/web-cart/” and this folder is mapped to your domain “web-cart.com”
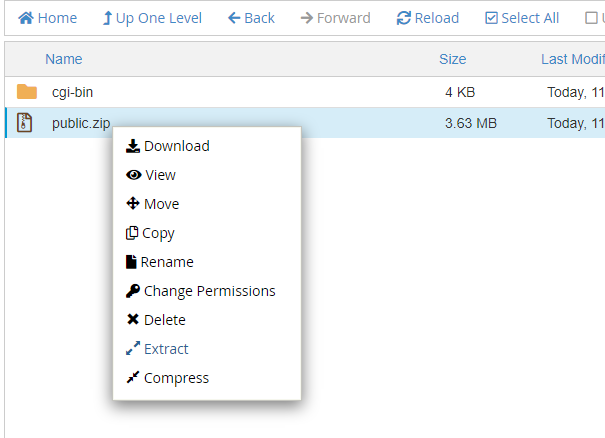
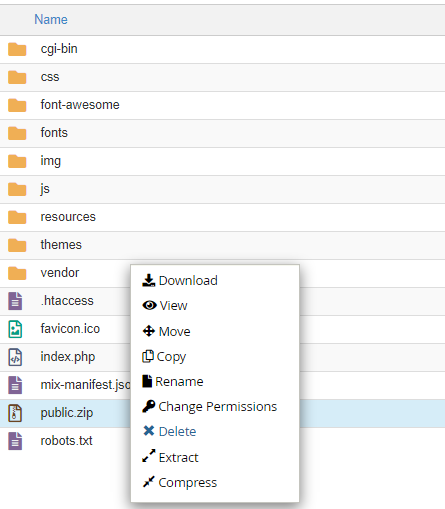
8. Now, extract “public.zip” inside of “public_html/web-cart/” by right clicking on file “public.zip” and “Extract”.
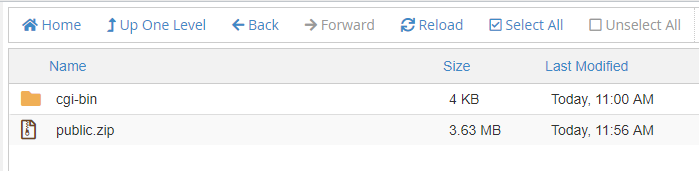

Click on “Extract File(s)”.
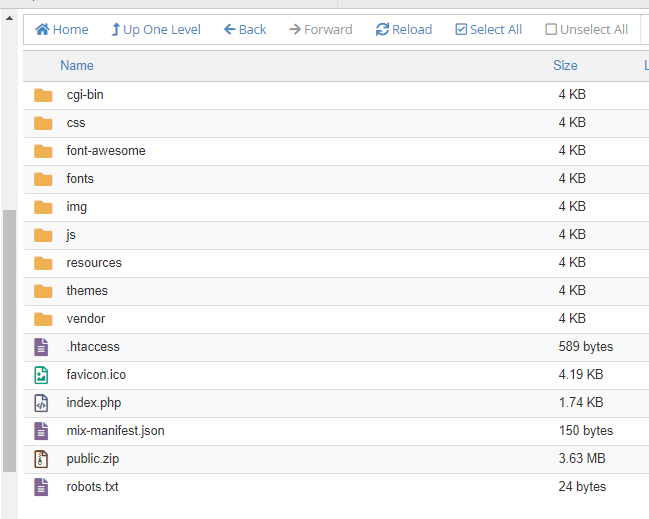
Now, you will see the following files/folders inside of “public_html/web-cart”.
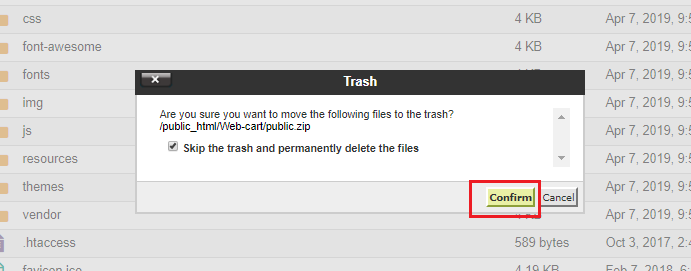
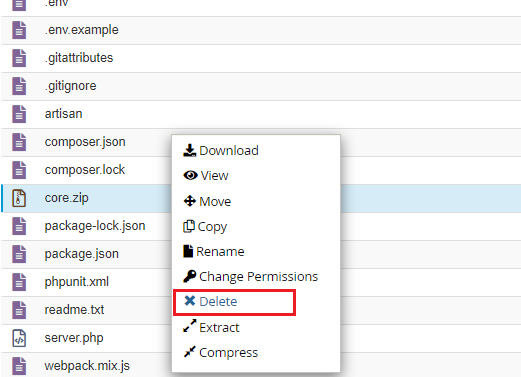
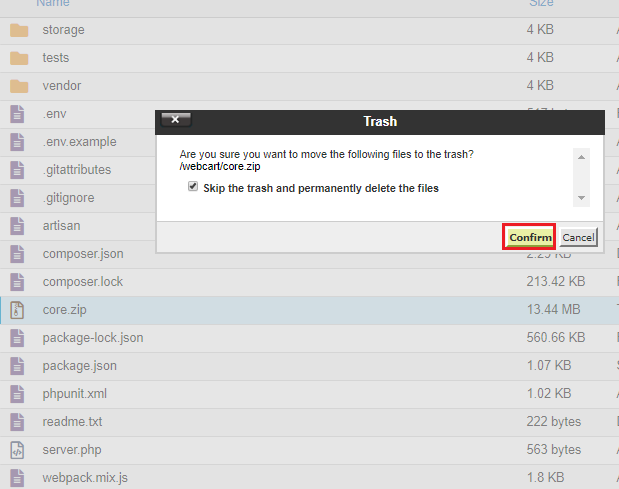
9. Now, delete “public.zip” file which is inside “public_html/web-cart”.
10. Next, we will need to upload “core.zip” file (which you created in Step 4) in GoDaddy.
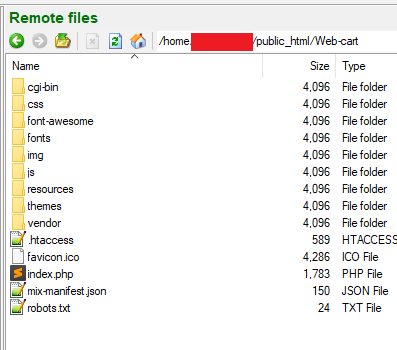
In your “File Manager”, go inside of “public_html”, you will just need to click “Up One Level” in case you are currently inside of “public_html/web-cart” folder.
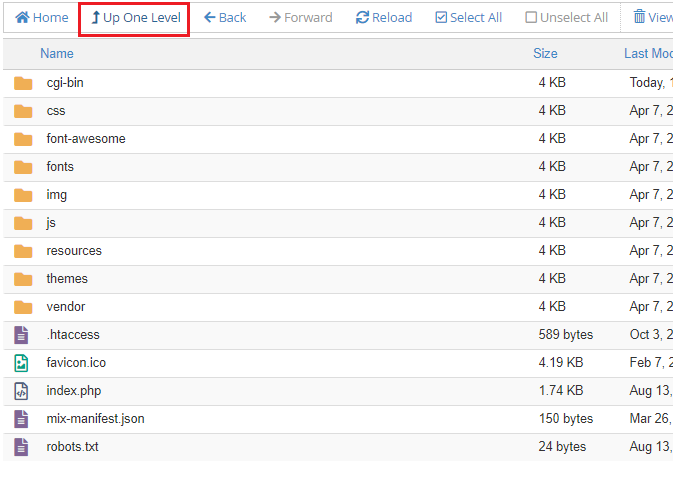
Or, you can just click “public_html” on your left side of screen
![]()
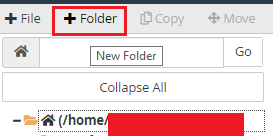
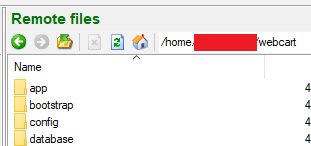
11. Now, go back one more level from “public_html” folder, you can just click on “/home/your_username” on your left side of screen.
![]()
In this folder, you will need to create a directory with any name you want, here we will upload and extract “core.zip” file in this new folder which you created.
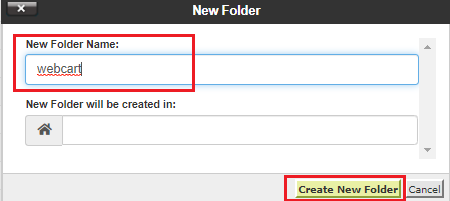
So, create a folder “webcart” inside of “/home/your_username/”. So, it looks like
“/home/your_username/webcart”
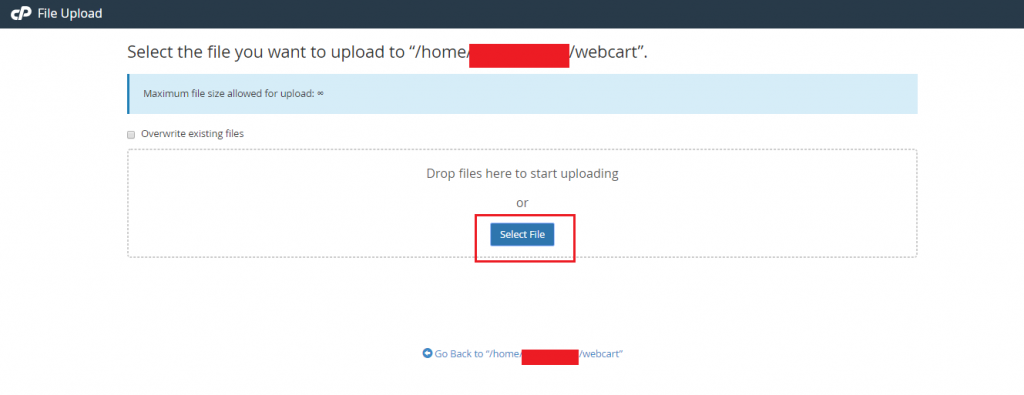
12. Navigate to this new folder and upload “core.zip” file (which you created in Step 4) inside of this new folder. So, it looks like
“/home/your_username/webcart/core.zip”


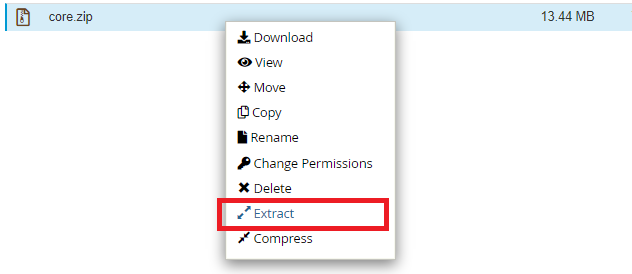
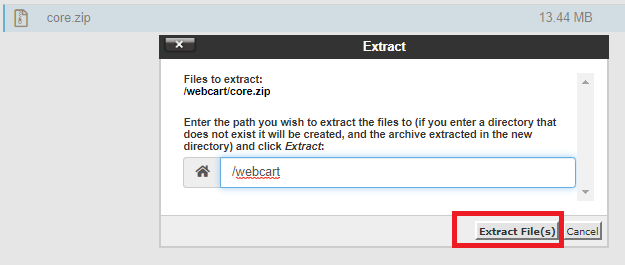
13. Extract “core.zip” inside of this folder.
14. After extracting, delete “core.zip” file
15. Now, we need to create database and connect to a server using SSH to run some commands in order to install and configure web-cart.
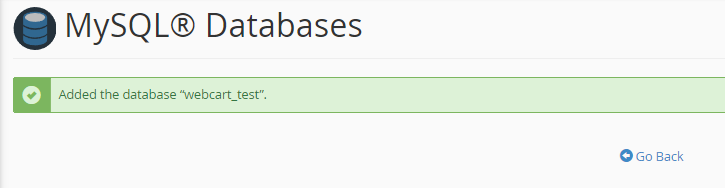
Go to “cPanel Admin” > “MySQL Databases”, Enter a new database name and create it.


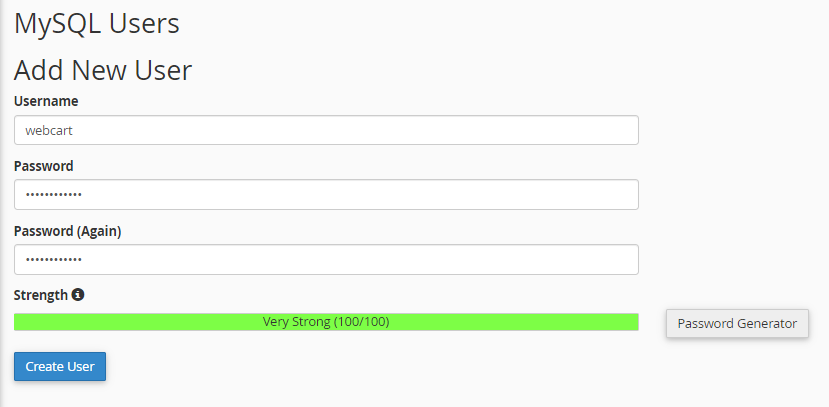
16. Create a new MySQL user and assign that user to this database.
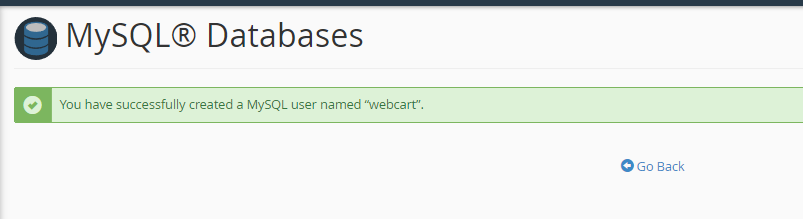
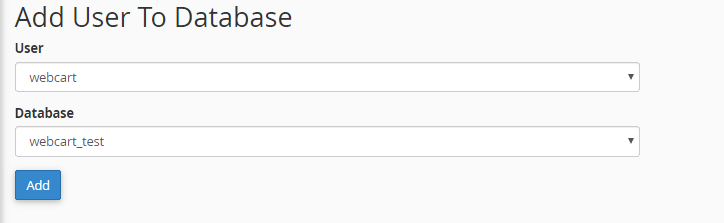
Note down your database connection parameters:
Database Name, User and Password
Here, we assume our database name is “webcart”, MySQL user is “webcart” and MySQL user’s password is “Password123”.
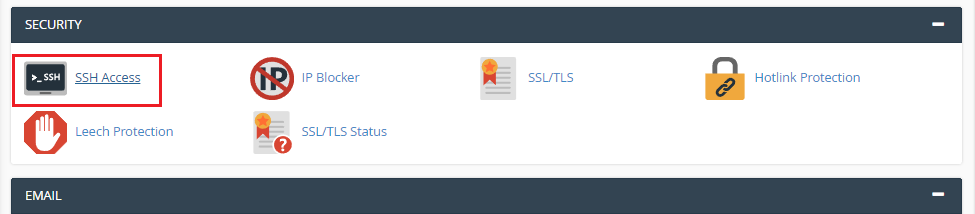
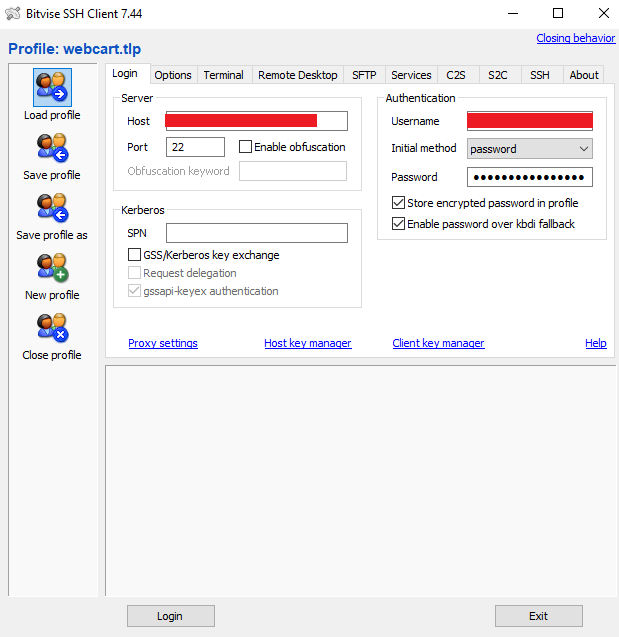
17. Next, we need to connect using SSH. You can use “Bitvise SSH Client” and using normal authentication method or public/private keys method to be able to connect to your GoDaddy hosting.
You will also need to enable SSH Access from cPanel (in GoDaddy) before connecting to it.
18. If you use “Bitvise”, then provide your GoDaddy’ host IP address, username and password and click “Login” to SSH into server.
You will see your home directory. Now, go to “webcart” directory (which you created in Step 11) inside of your home directory using Bitvise.
Open the file “.env” inside of “webcart” folder in any text editor and configure your database credentials.
/home/your_username/webcart/.env
DB_CONNECTION=mysql
DB_HOST=127.0.0.1
DB_PORT=3306
DB_DATABASE=webcart_test
DB_USERNAME=webcart
DB_PASSWORD=Password123
Then, save the file and it will be uploaded automatically to your server.
19. In Bitvise, navigate to “public_html/web-cart” folder
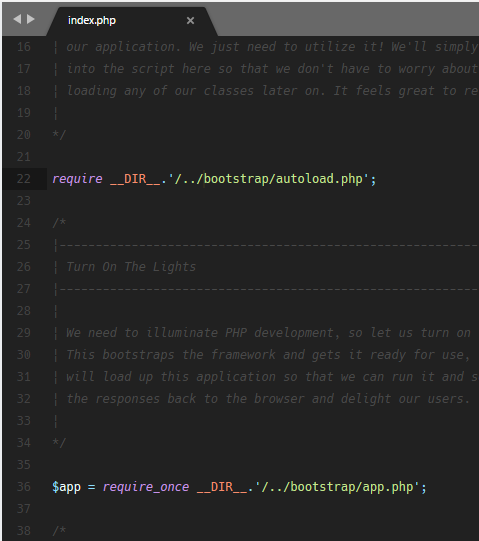
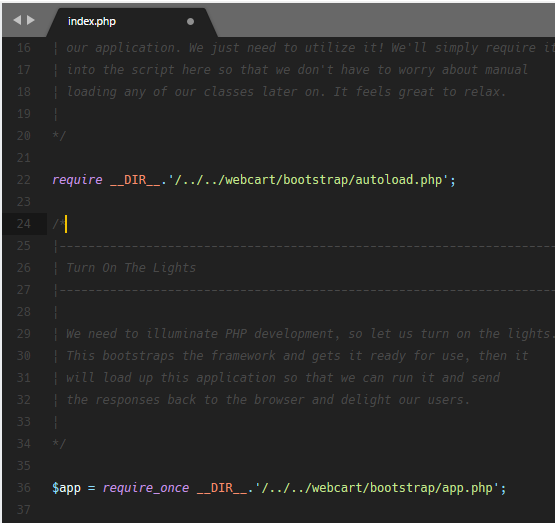
20. Open “index.php” file and edit the following paths to link public to where all core files are present. In this case, two directories up, then a folder “webcart”.
require __DIR__.’/../bootstrap/autoload.php’;
to
require __DIR__.’/../../webcart/bootstrap/autoload.php’;
and
$app = require_once __DIR__.’/../bootstrap/app.php’;
to
$app = require_once __DIR__.’/../../webcart/bootstrap/app.php’;
to
21. Copy the “webcart” directory path and then, in your shell (command line), navigate to this directory, by running the following command:
![]()
cd /home/your_username/webcart
22. Next, you will need to create symbolic link and assign permissions to some directories.
Create symbolic link from shell, from webcart directory in your shell, run the following command:
Here, the first directory is “web-cart” in “public_html” and second directory is “webcart” where your core files are present. You need to create symbolic link from your “/core_files/public” to your “public_html/webcart”
ln -s /home/your_username/public_html/web-cart /home/your_username/webcart/public
Now, you will have symbolic link from “/home/your_username/webcart/public” pointing to “/home/your_username/public_html/web-cart”
23. From webcart directory in your shell, run the following command:
php artisan webcart:install
Provide email, username and password for Super Admin and confirm, then wait for installation to finish.
24. In your shell, from webcart directory, run the following commands one by one to assign permissions to some directories:
chmod -R 777 /home/your_username/webcart/storage/framework
chmod -R 777 /home/your_username/webcart/storage/logs
chmod -R 777 /home/your_username/webcart/bootstrap/cache
chmod -R 777 /home/your_username/webcart/config
chmod -R 777 /home/your_username/public_html/Web-cart/img
chmod -R 777 /home/your_username/public_html/Web-cart/css/custom
chmod -R 777 /home/your_username/public_html/Web-cart/resources
25. Finally, in your browser, navigate to your domain which is mapped to webcart public folder where your public files are.
26. You can turn off debugging mode and set other configuration in webcart/config/app.php and webcart/.env files.
To turn off debugging, open “config/app.php” and search for this line:
‘debug’ => env(‘APP_DEBUG’, false),
Change it to:
‘debug’ => false,
To set environment to production, open “config/app.php” and search for this line:
‘env’ => env(‘APP_ENV’, ‘local’),
Change it to:
‘env’ =>’production’,
and so on.
27. To force website to use SSL, you will have to make two small changes in the following files:
a) /home/your_username/public_html/Web-cart/.htaccess
You will find these codes.
# Redirect To HTTPS
#RewriteCond %{HTTPS} off [OR]
#RewriteCond %{HTTP_HOST} ^www\. [NC]
#RewriteRule ^ https://example.com%{REQUEST_URI} [L,NE,R=301]
Replace above code with your domain (replace “example.com” and remove # in last three lines), so it looks like these:
# Redirect To HTTPS
RewriteCond %{HTTPS} off [OR]
RewriteCond %{HTTP_HOST} ^www\. [NC]
RewriteRule ^ https://your_domain.com%{REQUEST_URI} [L,NE,R=301]
b) /home/your_username/webcart/app/Providers/AppServiceProvider.php
On line number 29, you will find this code:
//\URL::forceScheme(‘https’);
Replace above code with:
\URL::forceScheme(‘https’);